Field Notes D08
Azure Custom Roles - Cook Guide

This article provides a workflow to help you customize roles to suit your needs.
Azure role-based access control (Azure RBAC) has several Azure built-in roles that you can assign to users, groups, service principals, and managed identities. RBAC ensures the proper segregation of administration between the different subscriptions, workloads and services. Role assignments are the way you control access to Azure resources. If the built-in roles don’t meet the specific needs of your organization, you can create your own Azure custom roles.
When planning custom role mapping, this toolkit can be used as a reference. It includes a set of reference worksheets and scripts to assist in defining and creating your own custom RBAC role(s).
The rest of this article focuses on how to define your own custom role. The role customization workflow looks like this:
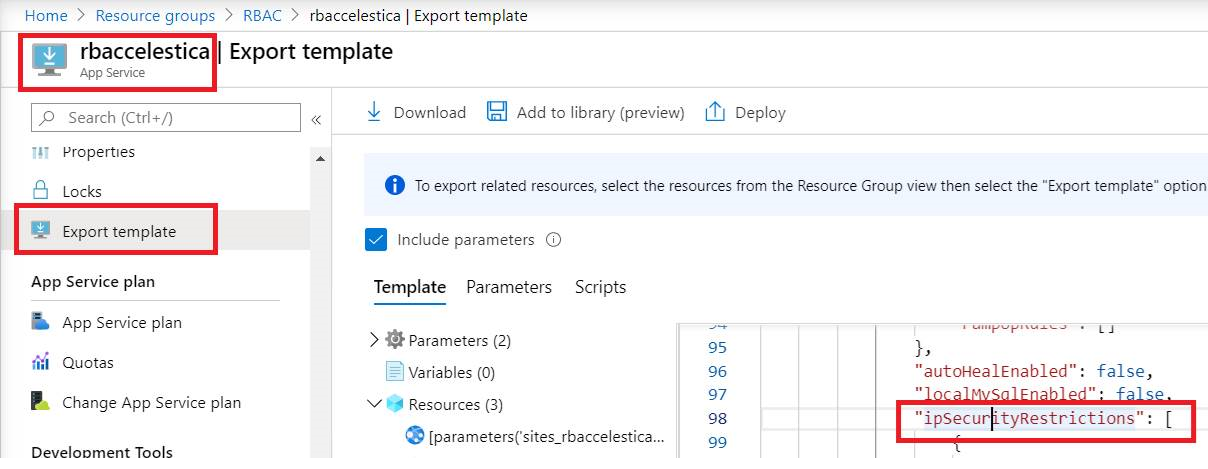
- Each Azure resource has an “Export template” action. Use it to understand where the settings are applied, then use the resource type and match it against the ARM provider operations below.
- Use the article Azure resource provider operations, which provides a complete list of all operations available from Azure Resource Manager. These operations can be used in Azure custom roles to provide granular access control to Azure resources.
- If you want to get all operations that target a resource, you can run a PowerShell command similar to
Get-AzProviderOperation "Microsoft.Web/*" | FT Operation, Description -AutoSize. Replace “Microsoft.Web” with the Azure resource provider whose operations you want to list. - Clone an existing role for customization. If certain operations should not be allowed, add those operations to the NotAction group or remove them from the Action group.
- Assign the customized role to users/groups whose access you want to restrict.
Take web role customization for example
- When you examine the resource of IP restriction rule (refer to screen shot below), you will see this setting is actually under “type”: “Microsoft.Web/sites/config”
2. If you search “Microsoft.Web/sites/config” from article Azure resource provider operations, you will see it has below operations, so the best choice to prevent user from editing this setting is not giving them write and delete permission
| Action | microsoft.web/sites/config/read | Get Web App configuration settings |
| Action | microsoft.web/sites/config/list/action | List Web App's security sensitive settings, such as publishing credentials, app settings and connection strings |
| Action | microsoft.web/sites/config/write | Update Web App's configuration settings |
| Action | microsoft.web/sites/config/delete | Delete Web Apps Config |
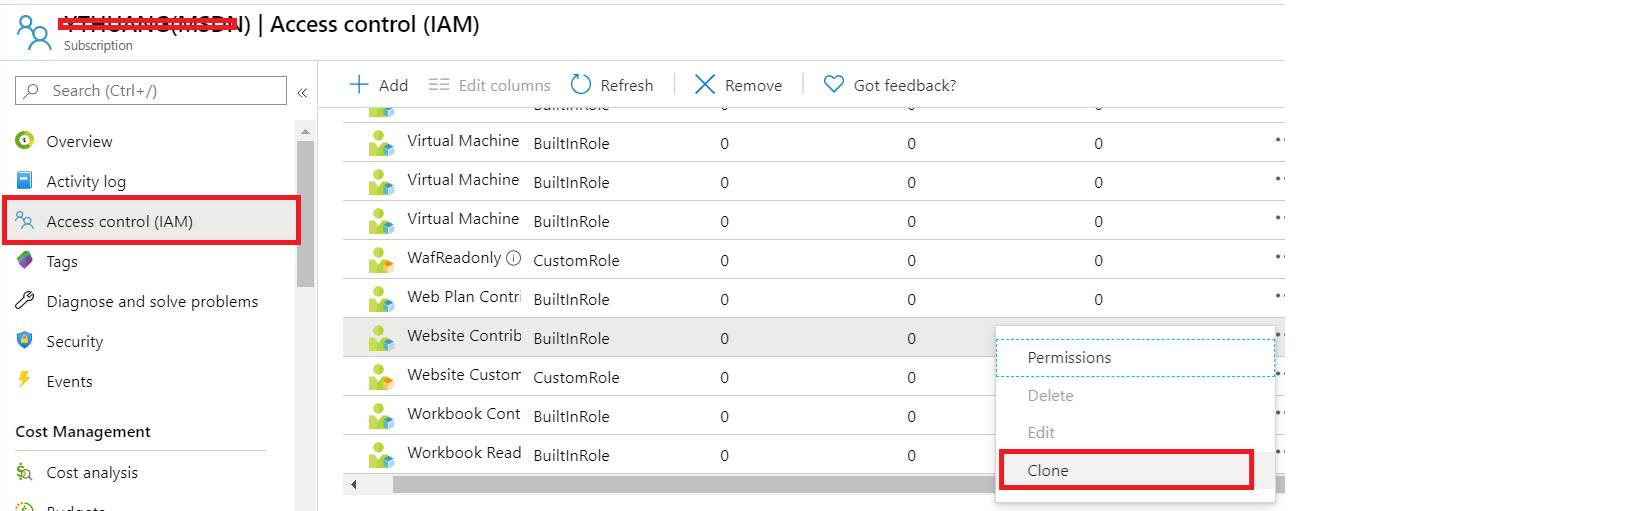
3. Now we can start from clone a role and customize it, from subscription->Access control->Roles, find Website Contributor, right click it and choose Clone
4. Follow the wizard and add below two operations to NotAction group

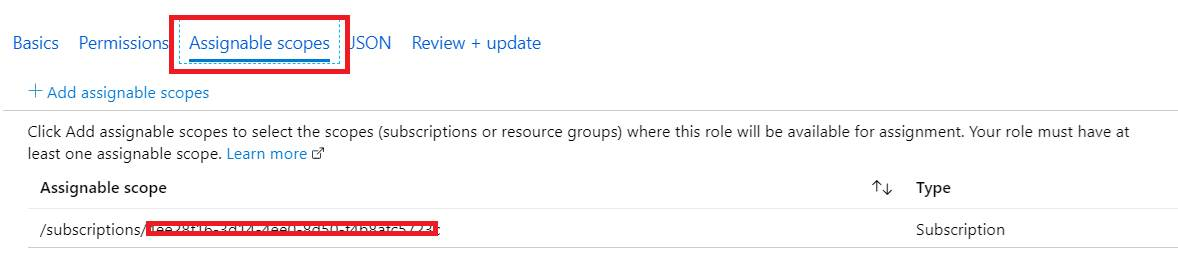
5. From Assignable scopes, please make sure the scope is targeted to your subscription.
6. Once the customized role is created, you can assign it to user/group which you want to restrict access.
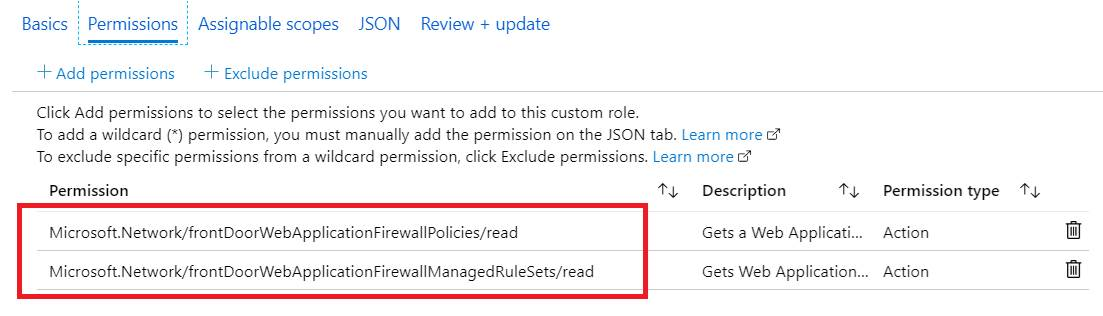
If there is no any existing role, for example, if we want to achieve “Disable the WAF in Front Door”, the methodology is still same here, the only difference is we need to create one, you could go to
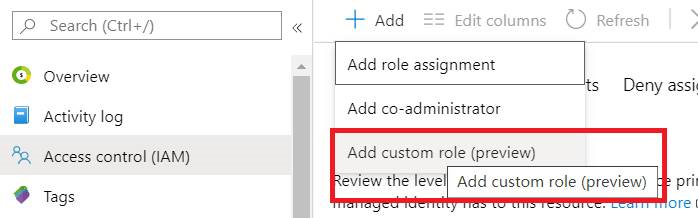
1. Subscription-> Access control->Roles, Add custom role
2. From Permissions, add below operations to Action group, make sure scope still targets to subscription and assign the customized role to user/group.